
Last Updated on May 9, 2026 by HodgePodgeDays
In my bedroom, I am woefully short of available sockets, and it being a small and slightly awkward room, one out of the two sockets that room has is behind my rather huge wardrobe. Before it was assembled, I hastily plugged in an extension lead and thought no more about it.
Once I’d unpacked (let’s be honest, there’s still a stack of boxes awaiting my attention in the dining room), I began to get mildly irritated by the sight of the extension lead in my bedroom. Short on time and inspiration, I used some masking tape to stick it along the skirting board and hoped for the best.
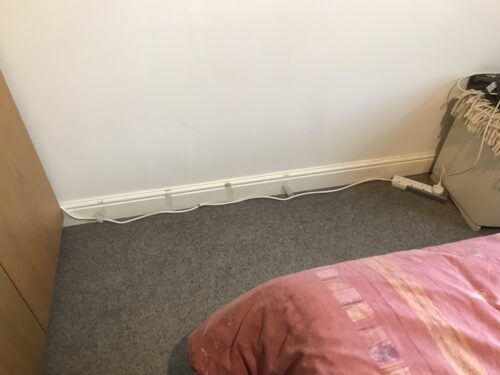
Alas, the best lasted less than a day before the cable was trailing along the floor again, and there it’s sat for a year. Just annoying me, for a year. Lying there, gently taunting me.
Emboldened by a recent flurry of successful DIY jobs, I did some googling. I watched some videos on YouTube. I ordered just the thing off Amazon, and now I’m the world’s leading expert in hiding cables. Or at least those two YouTube videos I watched made me feel that way.
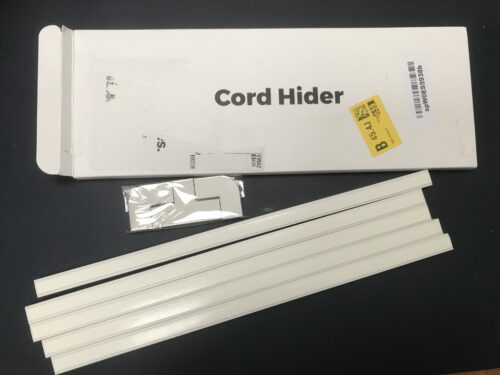
So today, I tackled the trailing cable. I’d bought the Delamu mini cable trunking kit, which was designed to house one cable, it’s self adhesive and looked like the right thing. It was also just £8.99, which fits neatly into my tiny budget.
I unpacked it and it contained 6 raceways and two corners. I didn’t need it all, but it was enough to do the job. It didn’t come with instructions, but it seemed fairly self explanatory.
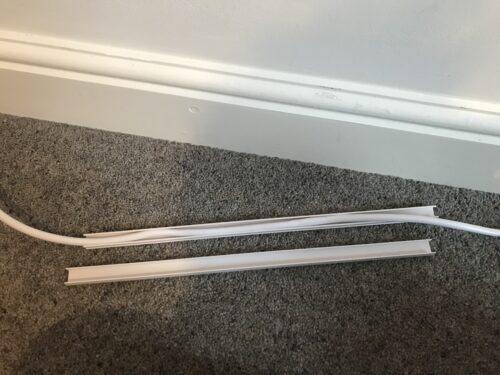
I started by cleaning my skirting-board and the wall behind it where the trunking would be stuck. It wasn’t filthy, but the masking tape had left a mark. I gave those marks a bit of a scrub before giving up and deciding that I probably needed to just repaint those bits next time I had a paint pot on the go. Oh well, the DIY never really stops, does it?
Next, I plonked myself on the floor to spend no more than three seconds figuring out how the trunking worked. Basically, you put the cable inside one side of the trunking, then clip the other side on top of it. There’s a self adhesive strip at the back, so you just need to remove the backing and stick it in place. Simples.
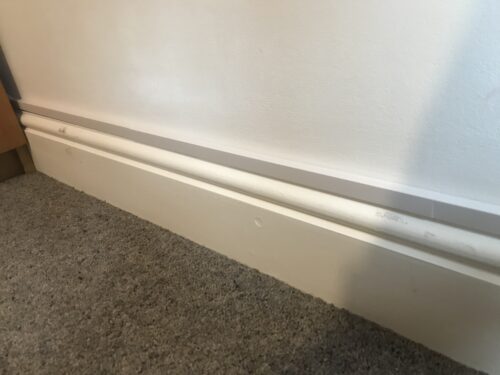
I faffed about with it for a couple of minutes, then decided to clip all the trunking onto the cable, then move it into place, then take the backing off each one before sticking them to the wall one after the other. It made sense to do it that way, as once it’s stuck to the wall, there’s no shifting it, and I needed to be able to adjust them a bit before I was happy.
The whole job took about ten minutes, including the cleaning and tidying up. I think it’s a vast improvement on what was there before. My son walked into my room when I was done and was very impressed.
If you’ve got some trailing cables, I promise you it’s an easy fix. It takes no time and no particular skill to do, and it looks pretty darn good. And if I can do it, then you can too!
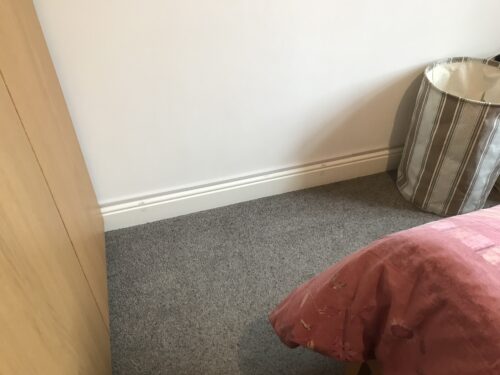
Update: I gave the sticky marks on the skirting board a wipe with some WD40 and they came up as good as new, so no need to get my paint brush out now. Winning!