In the UK, Halloween usually falls during half term, so it’s a great excuse to get the kids in the kitchen to whip up some terrifying treats. Recently I’ve been throwing together quick batches of chocolate brownies for my boy, they’re a speedy bake and so popular. I decided to make my regular recipe extra spooky by adding a handful of spooky spectres. Here are my easy ghost chocolate brownies, which make a fine addition to a Halloween party.
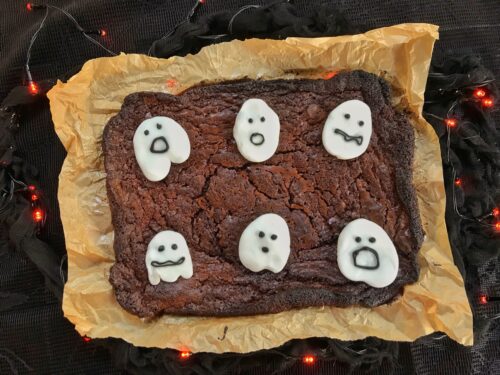
Essentially these are regular chocolate brownies, but with spooky ghost shapes popped on top. I cut my brownies into just six very greedy pieces, mostly becasue we’d made quite big ghosts, and party because we just really are that greedy. Sensible people could probably cut their brownies into 12 or even 16 pieces. Just make sure you have a little ghost for each one.

The ghosts are really simple to make. I bought a pack of white royal icing, broke it into small pieces, and then the boy and I made ghost shapes by rolling them out and shaping them. We gave each spectre a spooky face with some black writing icing, which is pretty widely available in supermarkets and online. We had a great time making them, it’s a fun thing to do with the children.
This is my favourite chocolate brownie recipe. It uses very little flour and the brownies are so moreish. A ghostly plate of these brownies is sure to be popular at any Halloween gathering.
Ghost Chocolate Brownies
Ingredients:
250g milk chocolate
250g unsalted butter
4 medium eggs
250g sugar
2 heaped tablespoons self raising flour
2 heaped tablespoons cocoa powder
60ml of vegetable oil
1/3 pack of white ready to roll royal icing
1 tube of black writing icing
How to make your Ghost Chocolate Brownies:
Pre-heat your oven to 185° and line a deep sided baking dish with baking parchment.
In a bowl, over a pan of simmering water, melt the chocolate and the butter together until smooth. In a separate bowl, mix the sugar and the eggs, whisk them until they’re light and fluffy.
Pass the flour, cocoa powder through a fine sieve and add to the eggs and sugar. Gently whisk the ingredients together until combined. Then mix in the melted chocolate and the vegetable oil to combine.
Bake for 35-45 minutes until the brownies have lost their wobble but are still a bit gooey inside. Take out and leave to cool. You want to almost under bake them so they are still soft in the centre.
Make your royal icing ghost shapes whenever you want. I prefer to make mine a day or two before I need them so they firm up a little. But it’s fine to make them just before you are decorating your brownies.
To make them, cut off blobs of the icing and roll them out. Try and guess the size of ghost you need for each brownie square. Using a spoon or a blunt butter knife, shape them into the kind of spooky shape you want. Put each one on a piece of baking paper so they’re not sticking to your work surface. Using a tube of black writing icing, draw a ghostly face on each one. Set them to one side for now. They can be happily left in the fridge or another cool place for a few days if you’re making them ahead of time.

Once the chocolate brownies are cool, cut them into squares and then lay a ghostly figure on top of each square. These are my favourite brownies ever. I urge you to give them a try.
If you enjoyed this, you might also like to try these recipes…
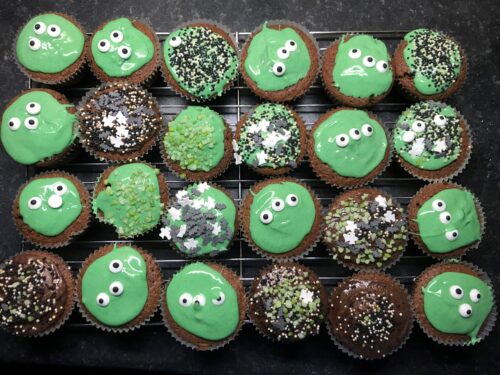
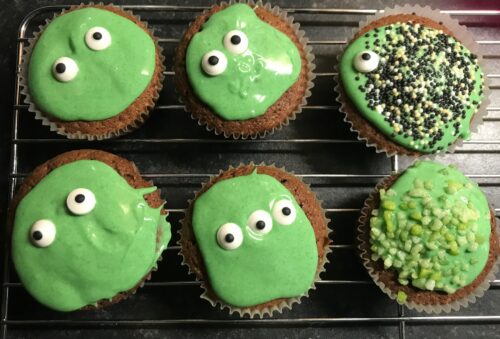
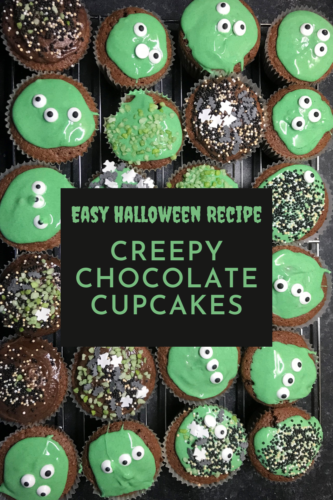
- Creepy Chocolate Cupcakes
- Halloween Gingerbread Mummies
- Creepy Chocolate Bark
- Pumpkin Cake with Cinnamon Frosting
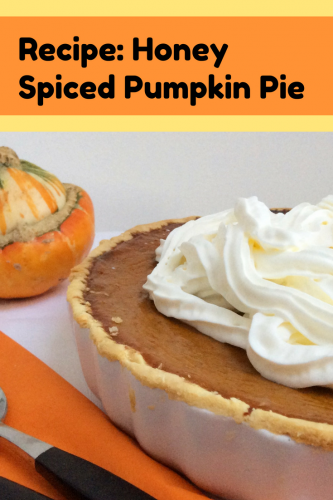
- Honey Spiced Pumpkin Pie
- Decorating Spooky Cupcakes