
Last Updated on November 27, 2020 by HodgePodgeDays
It’s rare a craft tutorial comes with a soundtrack, but I’ve had this earworm the whole time I’ve been making this planet, so it’s only fair to pass it on. My son has a space themed bedroom and I fancied that I could add to its charm by making Uranus and hanging it from his ceiling, ready to be admired by his fellow 6 year olds.
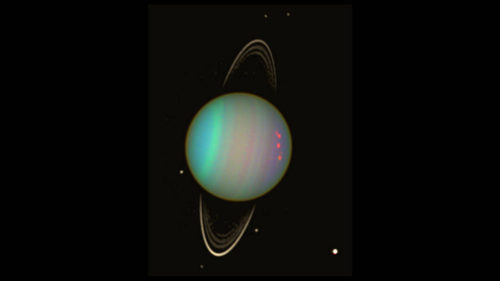
We decided to create a planet and I wanted to make one with rings because they’re prettier right? I didn’t want to do Saturn as that was too obvious, so my space savvy friend suggested Uranus as it does have rings.
How to make your own Uranus
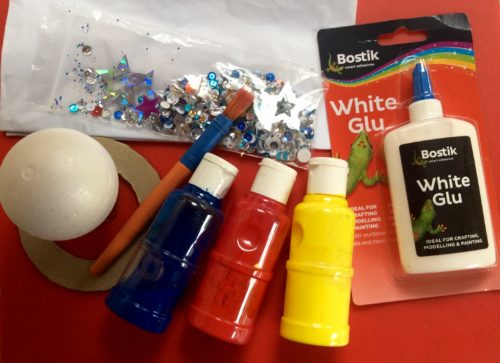
You will need:
1 polystyrene ball
Half a sheet of tissue paper
A “ring” of cardboard cut to fit the ball
Glue
Blue and silver paint
PVA glue
A length of fishing line
How to make Uranus:
Using an egg cup to balance your polystyrene ball on, carefully tear up the tissue paper into pieces a few centimetres square and stick onto the ball using the glue. Once covered, leave it to dry for an hour or so.
Once dry, carefully put the cardboard ring around your planet. The ring should be cut to fit the ball snuggly.
When the ring is in place, paint over your planet and its ring in blue (or whichever colour you choose, your planet, your rules). You might need to give it a few coats, but remember to leave it to try in between. If you’re in a hurry, a hairdryer can be used to gently speed up the drying process.

Once the blue base coat is dry and you are happy it doesn’t need more coats, paint over with silver paint. I wanted the silver paint to seem a bit like gases, so I dabbed it all over the planet and the rings so you could still see the blue underneath. Leave this to dry (again, carefully use a hairdryer if you’re in a rush).

When Uranus is dry, take a length of clear fishing line and cut it to the required length. Tie a knot in the middle and thread the pin through the knot and tie it tight. Stick the pin in Uranus, thinking about how you want the planet to hang. I thought it would look pretty at a slightly jaunty angle, so I went with that.
I was going to embellish my planet with sequins and shiny stars, but it was so pretty as it was that I thought I would leave it as it is. If you decide to make your own Uranus, or another planet of your choosing; then you can paint it or embellish it however you’d like.
I’m really pleased with how my Uranus has turned out. I know my son will enjoy adding it to his bedroom planetarium.

This looks awesome. Way to go. Must create these with the boys x
This is a great tutorial thanks. I need to make some planets for the top of my son’s birthday cake so this will be great to follow.
Love this! Such a wonderful idea! I love the silver paint on top of the blue!