WordPress: How to stop Linkis scraping your content

I’ve been blogging for almost four years now. One of the things that bother me the most are services which scrape my content and publish it on their site. It’s a very grey area, but for me it sets a copyright infringement alarm bell ringing in my head. Whether it’s legit or not, they are scraping my content and keeping the traffic, clicks and stats for themselves. There are a number of services which do this, but today I want to talk about Linkis.

At first glance Linkis appears to be a URL shortening service. Their links will look a bit like this – inkis.com or ln.is. However when you click on the link it takes you to the Linkis website. They will have scraped your content and put their frame over it. So whoever is looking at your content isn’t actually looking at your website.

Additionally if you’re using Twitter with an app such as on a tablet or phone, then Linkis will ask you to sign it which authorises the app. Once authorised every link you share will be a Linkis link until you disable the app (which you can do by going to settings / apps / revoke access). Annoying much?

As a blogger I spend a lot of time writing blog posts, taking pictures, doing bloggy things. For me it’s a full time job and to have someone like Linkis take my content and my click is infuriating. I’ve had to do all the hard work and someone else gets the glory. Sort of.

I love compers, some of my loveliest and most chatty Twitter followers are compers. So I’m not criticising them in any way. I run giveaways on my blog and I’ve noticed that some compers use Linkis. They share my giveaway posts via Linkis. Which would be fine, but Linkis steals my traffic and my click and it also invalidates some of their entry options (see below for details). No fair right?

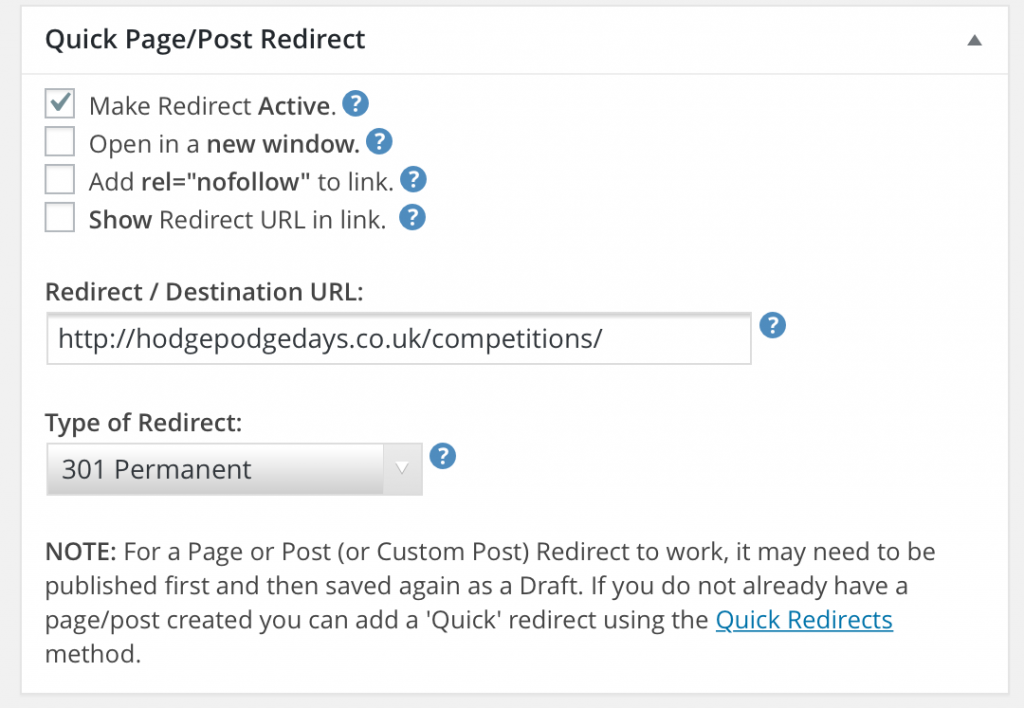
I did a bit of digging and found a WordPress plug-in called Frame Buster which I’ve installed and it seems to work well. Their blurb is below. I’ve had it installed for two weeks now and I haven’t seen a single Linkis share.

“You have spent a lot of time and effort building your website, creating your own calls-to-action, and strategizing your goals. The thought of someone throwing their own CTAs over top of your content without you knowing about it is probably both scary and infuriating.

This type of unsolicited activity can be accomplished by using apps such as:

  • Sniply
  • Linkis
  • Start A Fire

The Frame Buster by Warfare Plugins will detect any instance of your website being shown inside of a frame or a rerouted URL version of your content and redirect visitors to the original content (without the unsolicited calls-to-action). This ensures that content pirates cannot redirect traffic, leads and conversions to their own calls-to-action.”

There’s a very good article about Linkis and how to stop it scraping your content, including emailing them and asking for your site to be blacklisted by them. However I’ve found that since I’ve installed the Frame Buster plugin that Linkis has stopped allowing my links to be shared. If you do click on a Linkis link to my blog it now forces a redirect from the Linkis frame straight onto my blog post.

I’ve discussed this issue with some of my blogging friends. Some were aware of it, some were horrified. It does just look like a standard URL shortening service, but it’s a bit more sinister than that.

I spoke to Jenny from The Brick Castle and she said “I’d add Bloglovin to that list – they are still not handing over all traffic, but that’s something for another day.” Jenny goes on to add that for competitions and giveaways she has a warning about Linkis on her site, as “the redirect url (going to your site via theirs) messes with the retweet url and you can’t find it via your Rafflecopter form or by looking at ‘retweets’. So it won’t count and they can’t win.”

I have included Jenny’s warning below for info.

NOTE TO USERS OF Twitter – Linkis changes the url of your tweet and it can’t be counted! To remove third party apps – ‘Profile And Settings’, ‘Settings’, ‘Apps’.

Interesting points to consider for both bloggers and compers.

For me, Frame Buster seems to be working a treat and I’d recommend installing it on WordPress. It dealt perfectly with my Linkis problem and I’m very happy with the plugin.

I’d like to hear what people think of Linkis and if you’re unhappy how did you solve the problem?

WordPress: How to stop Linkis scraping your content

For more blogging tips and tutorials click here.

How to set up a Redirect on your WordPress Blog

It’s good practice when you’ve got a blog to schedule in a bit of maintenance on a regular basis. One of the things I like to do is to remove old giveaway posts, mainly because I didn’t like the thought of someone clicking through thinking there is a live giveaway but its closing date was months ago. I had been either re-working them into more content based blog posts, or if that wasn’t possible I was deleting them altogether, which is in hindsight a stupid thing to do.

I decided it was time I figured out how to redirect my old giveaway blog posts to my giveaway page, so anyone clicking through could see what giveaways were live on my blog right now, rather than being disappointed and just leaving my blog entirely.

I am often daunted by a page of boxes to check and things to code, but trust me, this is really easy and will make a difference to your blog. Setting up a redirect in WordPress is remarkably easy and all it takes is a plugin.

Choose a redirect plugin

I went for the Quick Page/Post Redirect Plugin. It had good reviews and seemed to do everything I needed it to do, so I installed it.

redirect plugin

Once you install it you can take a look at the settings page, but it all looks a bit scary with too many questions I didn’t entirely understand (I always fear that I’ll tick the wrong box and delete everything I’ve ever done) and there is a better way. I wanted the plugin to redirect old giveaway blog posts to my giveaways page, which was a simple enough task. 

  1. Find the blog post you want to redirect and go to “Edit”.
  2. Scroll down to “Quick Page/Post Redirect” which for me was immediately below my blog post.
  3. In the “Redirect / Destination URL” box type or paste in the URL you want to redirect to.
  4. Select the “Type of Redirect” (more of which later). I always choose 301 Permanent.
  5. Tick the box with says “Make Redirect Active” and the click on “Update” in the Publish box and it’s done. (Go on, check it).

redirect plugin

Or for Quick Redirects, once you’ve installed the redirect plugin the option to do Quick Redirects will be in your dashboard sidebar. This is useful when you know the URL but you’ve maybe deleted the old blog post. Redirecting is simple –

  1. Put the URL you want to Redirect in the “Request URL” box
  2. Put the URL of where you want to Redirect it to in the “Destination URL” box
  3. Click “Add new Redirects” and you’re done. Easy yes?

If you need to edit the Redirect at any time you can do so if you scroll down a little further and click on the editing pencil icon.

redirect plugin

SEO

Is there any benefit to redirecting your blog posts instead of deleting them?

Yes, without a redirect, deleted pages just ‘drop’ out of the Google index and you lose any value you’ve built up in them. If you redirect, you retain that value AND effectively pass it on to the new target page. By setting up a redirect you’ve not only avoided losing the SEO value of your old post, but you’ve also assigned it elsewhere. From an SEO perspective it makes so much sense to redirect.

Which Redirect should I use?

The Redirect Plugin gives you four redirect options to choose from, which should you go for?

301 Permanent 
A 301 redirect is a permanent redirect which passes between 90-99% of link juice to the redirected page. A 301 redirect is generally considered the best option when putting redirects on a website.

302 Temporary
A 302 redirect is a temporary redirect. It passes absolutely no link juice to the redirected page and isn’t recommended for use.

307 Temporary
A 307 redirect is the successor of the 302 redirect. Again it doesn’t pass any of your hard won link juice on to the redirected page and should only really be used if content is really being moved only temporarily.

Meta Redirect
When I mentioned Meta Redirects to my friend who is an SEO expert he told me not to go near it with a bargepole. “It’ll make your blog look spammy to Google” he said and they will be slower and you will have seen websites with a five-second countdown with the text “If you are not redirected in five seconds, click here, that’s a Meta Redirect. They are not recommended as an SEO tactic due to poor usability and the loss of link juice passed on to the redirected post.

Any questions?

If you’re in the habit of tidying up and deleting old blog posts, then it’s definitely worth looking into installing and using a redirect plugin on your WordPress blog. I went for the Quick Page/Post Redirect Plugin and I really rate it. It’s simple to use for quick redirects and it’s quick. The redirects I’ve sent up load incredibly quickly, and I’m cross with myself for deleting so many posts when I could have easily just redirected them and kept all the lovely SEO link juice for myself. 

If you’ve got any questions feel free to comment here or Tweet me. Always happy to help!

redirect plugin

How to add a StumbleUpon Sharing Button to your WordPress blog

Do you have a StumbleUpon Sharing Button on your blog? If not, you probably need one. It’s a great way for your readers to share your content and share the love.

A couple of years ago when I was setting up my blog I added the usual sharing buttons which would appear at the bottom of each blog post. Back then StumbleUpon was one of the standard buttons and I added it to the others not really knowing what it was. Of course these days blog posts are being Stumbled all over the place, and it’s a great way to pick up traffic.

Imagine my horror (not really horror, I might’ve tutted) when friend and blogger, Colette from We’re going on an adventure pointed out that my StumbleUpon sharing button wasn’t there and she had to manually Stumble my post.

My first port of call was to Google it. It appeared I was not alone in wondering what had happened to the StumbleUpon sharing button. It seems that the button used http which causes mixed-content warnings and sometimes fails completely on https sites. WordPress.com does not support http anymore and as StumbleUpon won’t move to https WordPress just did away with the button.

I knew it couldn’t be that hard to make a StumbleUpon button, so I figured it out so you don’t have to.

How to add a StumbleUpon Sharing Button to your WordPress blog

  1. Go into your WordPress dashboard.
  2. Go to Settings – Sharing.
  3. Scroll down  and click on  “Add a new service”.
  4. In the Service Name box type “StumbleUpon”.
  5. In the Sharing URL box type – http://www.stumbleupon.com/submit?url=%post_url%&title=%post_title%
  6. In the Icon URL box add the following code – https://hodgepodgedays.co.uk/wp-content/uploads/2016/01/tiny-stumble.png
  7. Click on “Create Share Button”, the button should appear, then you just drag it down to the “Enabled Services” section.

Your StumbleUpon sharing button should now be working perfectly.

The icon URL will depend on what you which icon you want to use. I just used the standard StumbleUpon icon and resized it to 16px by 16px, uploaded it to my media library and used the URL from that (which I posted above, you’re free to use my URL or upload and use your own).

StumbleUpon Sharing Button
Click on “Add new service”
StumbleUpon Sharing Button
Fill this out, use the information I gave you above
StumbleUpon Sharing Button
Look at my beautiful StumbleUpon sharing button!

Got it? Clear as mud? It’s easy, seriously if I can figure it out you’ll be fine. Feel free to ask me if you get stuck (you won’t).

Now go forth and Stumble, hopefully starting with this blog post (hint).

How to add a StumbleUpon Sharing Button to your WordPress blog

Click here for more blogging tutorials.

Blogging: Everything you need to know about Alt Tags

I realise that I may be teaching my (blogging) granny to suck eggs here; but a couple of friends have recently been asking me how to improve their SEO. So I thought it was worth putting a blog post together about Alt Tags and how they work.

An Alt Tag is an alternative title for an image you will use in your blog post. Your alt tag will not be visible to your blog readers; but search engines who “read” your page will pick it up as a keyword. Every tiny bit of SEO can help your blog post rank a bit higher in the search engines. An alt tag will not throw your blog post to the top of the search engine rankings, but it will help to improve your SEO just enough to make it worth doing.

The only people who may be aware of your alt tag would be visually impaired people. Alt tags were originally meant to provide a text description of pictures, so people with screen-reader software would get a spoken-word description rather than it just read “IMAGE 123” for example. Ideally your alt tags should  still accurately describe the image for visually impaired people.

We all like to add images to our blog posts; it makes them prettier and it breaks up the text a bit to make it easier to read. I use WordPress to blog, so I can only really tell you how to add an alt tag in WordPress. I can’t imagine it would be that much different on a different platform.

To add an Alt Tag to your image on WordPress you can do it one of two ways…

  • Go to “Add Media” and upload your image.
  • Select the image and the “Attachment Details” menu should appear on the right hand side of your screen. You should see a box called “Alt Text”. This is where you put your keyword. I am using my recipe for Lebkuchen Cake as an example, my chosen keyword for that blog post was “Lebkuchen Cake”, so my alt tag for that image was “Lebkuchen Cake”.
  • Enter your chosen keyword into the “Alt Text” box and click on “Insert into post”. You have added an alt tag to your post.

Blogging: Everything you need to know about Alt Tags

Or….

If your image is already inserted into the post and you want to add, change, check or update your alt tag, it’s pretty easy.

  • Make sure you’re in the “Visual” view (rather than the text view) and find the image you want to edit or check.
  • Click on the image and a small toolbar will appear with alignment options and a pencil icon; click on the pencil icon and it will take you into “Image Details”. This is where you can add or edit your alt tag.
  • Insert your chosen alt tag and click on “Update”. Remember to make it the same as your chosen keyword for your blog post.

Blogging: Everything you need to know about Alt Tags

You will need to alt tag every image you use in your blog post; but it’s really very simple and can make a difference to your SEO.

There are also title tags (eg title=”lebkuchen cake”) which do the same thing, but this is the pop-up caption that appears on-screen when you point to the image with your cursor. Another place for SEO keywords and again, keep it relevant because there’s even more chance a human will point to your picture and see this caption pop up.

It’s also worth noting that the WordPress template you use will need to pull the alt text from the image library into the page code. If the template’s not got anything in it about alt text, then it won’t get put into the HTML when the post is published, so you’ll have to add the alt tags in the second way I showed you. However, most of the most common WordPress templates have this built in as standard, but it’s worth checking on all the same.

So in a nutshell (or 678 words) that’s all you need to know about alt tags and what they do. Any questions?

Everything you need to know about alt tags