Jam Making & Preserving tips

Summer is here and the fruit bushes and trees in my garden are groaning with fruit. I’ve always loved jam making and making my own preserves and pickles, it’s quite a lovely relaxing thing to do and in the depths of winter you have a jar of something summery to spread on your toast. 

When I made my first batch of jam, I didn’t have a preserving pan, my jam jars were a mixture of all sorts I’d rescued from the recycling bin and my labels were just plain sticky ones. It was great fun, but then I got the jam bug and realised if I wanted to be making decent quality jams then I’d need to get some proper kit.

A real essential is a stainless steel maslin pan. Firstly, they hold a lot of jam which is quite important, and secondly they’re designed to help you make a better quality jam than you would in your biggest saucepan. With a heavy base and a wider rim which helps the jam reach a setting point quicker, a maslin pan is a real essential. I wouldn’t be without my jam pan.

For jam makers, new or experienced, I really recommend the Lovejars site – Rosie’s Pantry in particular which is ideal for the home jam maker. They have some really lovely and unique products in their Jarcessorise range – a whole new concept that appeals to the home preserver – you are only really limited by your imagination. All the elements to dress up your jars can be bought individually, or grouped together in collections or in super-cute Dressing Up Boxes

Rosie has a really useful blog all about jam making and preserving and it’s a fantastic resource for people wanting to try their hand at making jams and preserves. Her recipe site has lots of information and her recipes can be re-scaled by entering the weight of the main ingredient, so you can easily make more – or less depending on how much fruit you have. The recipes are optimised for mobile so easy to check details when you are out and about, especially if you’ve found a bargain box of fruit you can’t resist jamming with.

I’ll be learning more about jam making with Rosie over the next few months, I’ll maybe share a recipe or two and some tips for dressing your jars to make beautiful gifts for friends and family. 
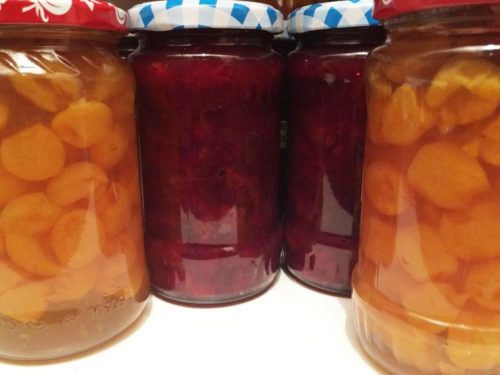
Jam Making

Rosie has very kindly given me a discount code for you all to use, just enter LOVEIT10 and the checkout which gives you 10% off everything on the Lovejars website, excluding carriage.

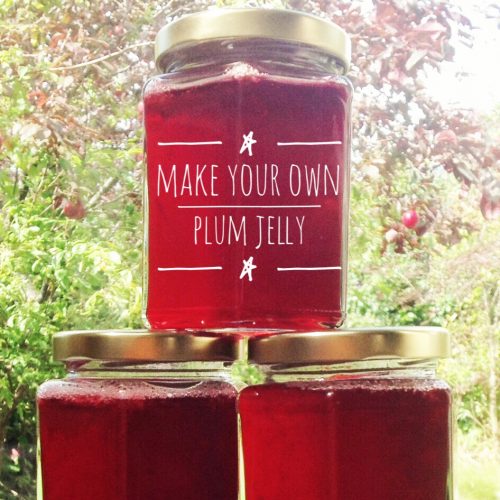
Easy Recipe: Plum Jelly – preserving summer

With three established plum trees in our garden we suddenly get quite popular at this time of year; people popping round on the off chance they can take a bag home to turn into a duff or a crumble or a sponge. This year has been an exceptionally good year for our plum trees and we couldn’t give the fruit away fast enough so I made a batch of plum jelly.

We used to be keen picklers and preservers (before we became parents), so I decided to make a batch of plum jelly. It’s very simple, you don’t need mad skills to make it, all you need is time and patience.

Recipe: Plum Jelly - preserving summer

Ingredients:
4.5 lbs of ripe plums (any variety)
1 pint of water
1.5 lbs of preserving sugar

Method:

  1. Halve the plums (you don’t need to remove the stones, I left most of them in, but if it popped out easily then I discarded it), and place into a very large pan. Pour in your water, put the lid on the pan and cook until the fruit has fallen apart, this should take about 10-15 minutes.
  2. Set up your jelly bag, if you haven’t got one of these don’t worry, you can put a sieve over a large bowl, line the sieve with a clean piece of muslin, this will work just as well.
  3. Once your plums are cooked, gradually ladle into the jelly bag or lined sieve and leave (preferably overnight) to drip. Don’t be tempted to squeeze the juice out as this may result in a cloudy jelly. You should get around 2 pints of juice from the plums.
  4. Put your plum juice into your very large pan with the preserving sugar and stir until the sugar melts into the juice. Turn the heat up and bring it to a low rolling boil. It’s better to take this slow and steady, than rush it and push it too far. At this stage put your clean jars in the oven to sterilise them.
  5. You should carefully taste the jelly at this stage to see if it needs any more sugar. This will vary depending on the ripeness of the fruit; remember you can always add but you can’t take away, so keep tasting. Personally I like a slightly tart jelly.
  6. Keep an eye on your plum jelly, keep stirring and you should feel it start to thicken. Scoop any foamy scum off the top (this is just impurities from the fruit and the sugar, it’s not harmful at all) and discard.
  7. Take a cold plate (if you put it in the fridge to chill, that’ll help) and put a dribble of the plum jelly on. Leave it to cool and if it sets to the consistency you want then your jelly is ready to be put in the jars; if not keep stirring and testing the jelly regularly.
  8. When it’s ready, carefully remove your jars from the oven; (they will be incredibly hot) and pour in your plum jelly. We use a wide necked funnel for this; but filling a jug and pouring it into the jar works just as well. Work quickly and carefully and get the lids on your jars while everything is still hot.

Leave to cool and and then it’s ready for slathering on crumpets.

plum jelly

Personally I like to put my jars of jewel coloured jams and jellies away until the winter months. It’s lovely to open a jar of something homemade, special and evocative of summer; just when you need the sunshine memory the most. But then I’m sentimental like that.

If you enjoyed this recipe, you might also like to try my No Churn Plum Ice Cream.

Easy Recipe: Plum Jelly - preserving summer