
With three established plum trees in our garden we suddenly get quite popular at this time of year; people popping round on the off chance they can take a bag home to turn into a duff or a crumble or a sponge. This year has been an exceptionally good year for our plum trees and we couldn’t give the fruit away fast enough so I made a batch of plum jelly.
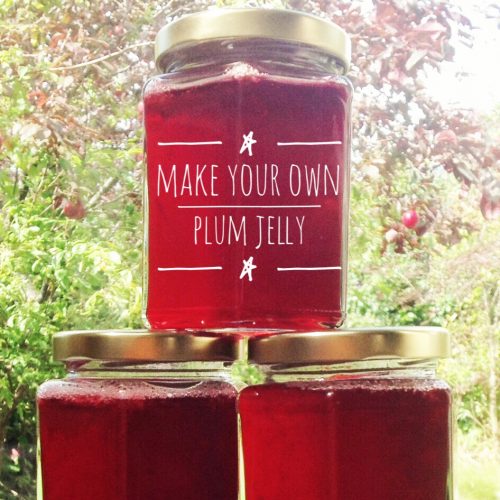
We used to be keen picklers and preservers (before we became parents), so I decided to make a batch of plum jelly. It’s very simple, you don’t need mad skills to make it, all you need is time and patience.
Ingredients:
4.5 lbs of ripe plums (any variety)
1 pint of water
1.5 lbs of preserving sugar
Method:
- Halve the plums (you don’t need to remove the stones, I left most of them in, but if it popped out easily then I discarded it), and place into a very large pan. Pour in your water, put the lid on the pan and cook until the fruit has fallen apart, this should take about 10-15 minutes.
- Set up your jelly bag, if you haven’t got one of these don’t worry, you can put a sieve over a large bowl, line the sieve with a clean piece of muslin, this will work just as well.
- Once your plums are cooked, gradually ladle into the jelly bag or lined sieve and leave (preferably overnight) to drip. Don’t be tempted to squeeze the juice out as this may result in a cloudy jelly. You should get around 2 pints of juice from the plums.
- Put your plum juice into your very large pan with the preserving sugar and stir until the sugar melts into the juice. Turn the heat up and bring it to a low rolling boil. It’s better to take this slow and steady, than rush it and push it too far. At this stage put your clean jars in the oven to sterilise them.
- You should carefully taste the jelly at this stage to see if it needs any more sugar. This will vary depending on the ripeness of the fruit; remember you can always add but you can’t take away, so keep tasting. Personally I like a slightly tart jelly.
- Keep an eye on your plum jelly, keep stirring and you should feel it start to thicken. Scoop any foamy scum off the top (this is just impurities from the fruit and the sugar, it’s not harmful at all) and discard.
- Take a cold plate (if you put it in the fridge to chill, that’ll help) and put a dribble of the plum jelly on. Leave it to cool and if it sets to the consistency you want then your jelly is ready to be put in the jars; if not keep stirring and testing the jelly regularly.
- When it’s ready, carefully remove your jars from the oven; (they will be incredibly hot) and pour in your plum jelly. We use a wide necked funnel for this; but filling a jug and pouring it into the jar works just as well. Work quickly and carefully and get the lids on your jars while everything is still hot.
Leave to cool and and then it’s ready for slathering on crumpets.

Personally I like to put my jars of jewel coloured jams and jellies away until the winter months. It’s lovely to open a jar of something homemade, special and evocative of summer; just when you need the sunshine memory the most. But then I’m sentimental like that.
If you enjoyed this recipe, you might also like to try my No Churn Plum Ice Cream.
