There’s nothing quite as good as a cup of coffee in the garden with a little sweet treat to go with it. This week I knocked up a batch of my quick coffee cupcakes and sat in the garden in the last of the sunshine before Storm Hector swept in and spoiled all our summer fun.
Cupcakes are something I make quite a lot of at home. They’re so quick and easy to do and I often have a fresh batch of buttercream in the fridge for emergencies. I know this is potentially an unpopular opinion, but cupcakes are just buns with fancy icing. If you can master a basic swirl people think you’ve got mad baking skills. I’m not going to win any prizes for my decorating, but I can do some basic piping, enough to turn a humble bun into a cupcake. If I can do it, you can too!
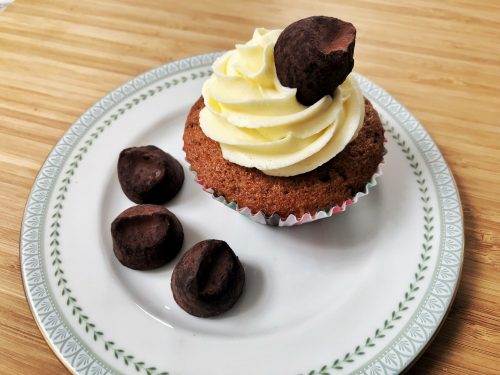
These quick coffee cupcakes are great to make in a hurry. I piped plain vanilla buttercream on these, but if you’re baking for a real coffee fan, then you can easily make coffee buttercream. You can ramp the coffee flavours up further by adding a Roasted Coffee Cacao Truffle from Beech’s Fine Chocolates to the top, this turns a simple cupcake into a lovely grown up after dinner treat!

Quick Coffee Cupcakes
Ingredients:
150g butter or margarine
150g caster sugar
3 eggs (large)
150g self raising flour
1 teaspoon baking powder
1/2 teaspoon vanilla extract
1 heaped teaspoon of instant coffee dissolved in 1/2 tablespoon of milk
For the buttercream:
250g icing sugar
250g butter (softened)
1/2 teaspoon vanilla extract
Beech’s Fine Chocolates Roasted Coffee Cacao Truffles
Method:
Pre-heat your oven to 180° and put paper cases in a bun or a muffin tray.
Cream your butter and sugar in a large mixing bowl. Add the rest of the ingredients and using a hand mixer combine until the batter is smooth and airy.
Dollop a large dessert spoon of the cake batter in each case and bake in the oven for 20 minutes. Once cooked remove from the oven and leave cool on a rack.
While your cupcakes are cooling, sift your icing sugar and beat together with the softened butter. Add your vanilla extract and beat it in thoroughly.
Once your cupcakes are cool, put your vanilla buttercream in a piping bag with a star piping nozzle – I use a Wilton 2D nozzle. I did a standard buttercream swirl, if you’re not sure how to do it, watch this short video.
I then decorated the buttercream swirl with a Roasted Coffee Cacao Truffle from Beech’s Fine Chocolates. Serve with a cup of very good coffee.
If you wanted to up the coffee content of your coffee cupcake, you could add some coffee to your vanilla buttercream. Dissolve some coffee in a splash of milk and beat it through thoroughly.

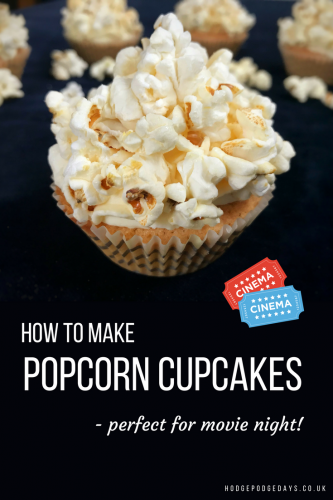
If you enjoyed this recipe, you might also like these popcorn cupcakes, tangy marmalade cupcakes or romantic rose cupcakes.