Homemade treats make for really lovely gifts at Christmas. These Fruit and Nutty Buttons are really fun to make and delicious too.

I’ve been making variations of these chocolate buttons since I found a silicone mold in a charity shop for £1 earlier in the year. I’ve made these a bunch of times with my son, they couldn’t be more simple. Melt some chocolate, pour it in the mold and decorate however you want.
As it’s Christmas I wanted to use some nuts in these buttons, so I made a batch of candied walnuts. They’re super easy and so delicious, we nearly ate the whole batch before we got chance to add them to the buttons.

Candied Walnuts
Ingredients:
200g walnuts
6 tablespoons of sugar
1 tablespoon of ground cinnamon
1 egg white
splash of water
How to make your candied walnuts:
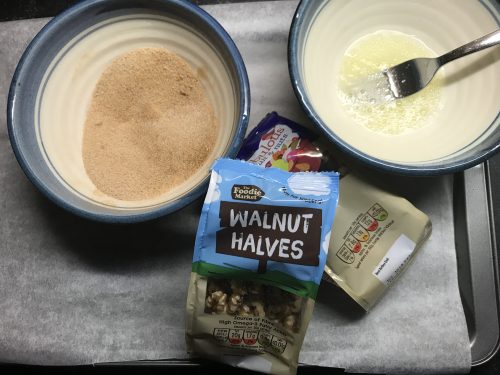
Pre-heat your oven to 120° and put some baking parchment on a baking tray. In a bowl, whisk your egg white with a splash of water. In a different bowl, mix the sugar and cinnamon until it’s well combined.
Using a fork, dip each walnut in the egg white and then toss is in the sugar until it’s covered. Place the walnuts on the baking tray. Once all the walnuts are covered, put the tray in the oven and bake for 45 minutes or so. Make sure you turn the walnuts every 15 minutes so they cook evenly. Remove from the oven and leave to cool.
Fruit and Nutty Buttons
Ingredients:
250g of milk chocolate
A bag of mixed fruit and nuts
Candied walnuts
Small bag of white chocolate buttons

You will need:
A saucepan, a glass bowl which will sit in the pan, but so it doesn’t touch the bottom; a metal spoon, silicone baking molds.
How to make your fruit and nutty buttons:
Boil some water and pour the water into your pan so it’s about 3cm deep. Carefully place the glass bowl in the pan making sure the bottom of the bowl doesn’t touch the water. This is called a bain marie.
Break your chocolate up into small pieces and put it in the glass bowl. The water in the pan needs to be at a gentle simmer, not bubbling and boiling. Stir the chocolate until it is melted.
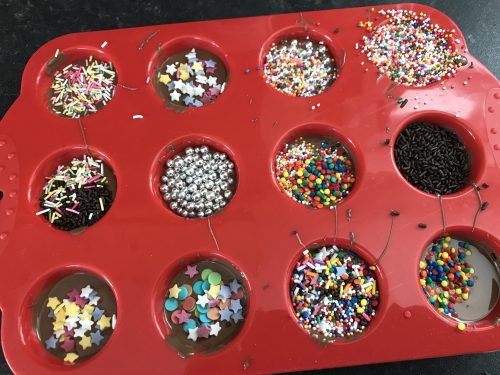
Once the chocolate is melted, with a spoon scoop out some melted chocolate into each of the molds. Try and put an equal amount in each. Gently shake the silicone tray so the chocolate settles.

Melt about half of your white chocolate buttons for drizzling. Take your fruit and nuts and decorate the buttons however you want. I did four different kinds –
- Candied walnuts drizzled with white chocolate
- Pecan nuts, dried cranberries and sultanas
- Just candied walnuts
- Plain white chocolate buttons
Leave them to cool for at least two hours. If you need them to set a bit faster you can pop them in the fridge. Once they’re set you can put them in little cellophane bags and decorate with ribbons.
They’re really delicious and the addition of fruit and nuts turns them from a fun chocolate treat into something a little more grown up. They’re such a lovely gift to give and receive, and really great to make with kids too.