Recycled Crafts: Robot Junk Modelling

My son is always coming home from school or from Beavers with things he’s created out of junk. They have a big box of little boxes, cardboard tubes, bottles, egg boxes and other junk which they can use to create all kinds of things. I fancied getting in on the action. So I gathered a some junk and a selection of crafty bits and bobs and we had an afternoon of robot junk modelling.

I had the idea of taking one of those small cereal boxes and covering it in tin foil, then letting our imaginations go wild. It was pretty simple to cover them in tin foil. I just cut a piece to size, covered it in glue and wrapped it up like a present.

Recycled Crafts: Robot Junk Modelling

Robot Junk Modelling

You will need:
A small cereal box
Tin foil
Bostik White Glu
Empty toilet roll
Sticky tape
Various crafty bits like pipe-cleaners, sticky foam pieces, googly eyes

Recycled Crafts: Robot Junk Modelling

How to get started with Robot Junk Modelling:
Take your cereal box and with some sticky tape, seal up the box. Take a piece of tin foil and cover it in a thin layer of the Bostik White Glu. Carefully wrap the foil around the box, folding the ends in like you would when you wrapped a present.

Grab whatever crafty bits you have. I found some pipe-cleaners, some self adhesive foam shapes, some googly eyes, little pom poms and some beads. Have a think about how you might use your craft pieces to create a robot face, just use your imagination. Use the glue to stick anything which isn’t self adhesive on.

Recycled Crafts: Robot Junk Modelling

I cut down some toilet rolls, covered them in foil and attached them to the sides of the robot head. I also twirled some pipe-cleaners for antennae and embellished them with some beads.

As you can see, both me and the boy had the same pile of crafty bits in front of us, but our robots are completely different. I think his is pretty cool, mine is pretty conventional. What will your robot look like?

Recycled Crafts: Robot Junk Modelling

Check out my other craft tutorials here!

Recycled Crafts: Robot Junk Modelling

Learn about Recycling for Earth Day PLUS Free Worksheets

Earth Day is on 22nd April and it’s a great opportunity to talk to our children about how we can care for our planet. As much as we’d all like to banish climate change, pollution and single use plastics with the wave of a magic wand; it’s not something we can change overnight. What we can do is make efforts to reduce, reuse and recycle and make better choices when it comes to buying single use plastics; as well as reducing our energy usage where possible. There are lots of things we can do to reduce our personal footprint on the earth; recycling is an important part of that.

Learn about Recycling for Earth Day PLUS Free Worksheets

This month, the boy has been working towards his Global Issues badge at Beavers. This involved keeping a recycling diary and taking steps around the home to reduce our waste and energy usage. I put together some worksheets on recycling for him to complete and take to Beavers to show what he’s been up to at home.

Learn about Recycling for Earth Day PLUS Free WorksheetsLearn about Recycling for Earth Day PLUS Free Worksheets

Download these worksheets for free here

The worksheets include some colouring in; a game where you put the right recycling in the right bin; a recycling diary and some questions about why and how we recycle. It’s just the thing for his Global Issues badge; but it’s also great to do at home if you’re talking about Earth Day, recycling or global issues.

I think it’s useful for adults and well as children to look again at what we throw away and see if we could do better. Or reduce what we use, recycle more or just do better when it comes to rubbish. I am trying to buy fewer things wrapped in layers and layers of plastic. I’ve virtually stopped drinking take away coffee and I refuse plastic straws. Making small changes can have a big impact. What changes are you making this year?

Learn about Recycling for Earth Day PLUS Free Worksheets

If you enjoyed this, you might also like this easy Earth Day craft.

Crafts: How to make a Packing Peanut Flower Garland

These days we’re increasingly mindful of what we throw away. Disposing of plastic and packaging responsibly is something we’re really trying to do, although not always successfully. I often get boxes, packages and deliveries and where I can I recycle or re-use the packaging, but sometimes I need to get creative. When a box arrived filled with packing peanuts my heart sunk. What was I going to do with all these? The answer was simple, crafts. On this occasion I thought I’d make a Packing Peanut Flower Garland to pretty up my freshly painted living room.

Crafts: How to make a Packing Peanut Flower Garland

I hadn’t realised this until now, but most packing peanuts are made from cornstarch, so if you get them wet they just dissolve into a sticky mess. I thought they were made from a plastic foam which wouldn’t biodegrade, but I was wrong. If you can find no other use for them, you can happily throw them in your compost bin and think no more about it, but I had plans for my packing peanuts!

The Packing Peanut Flower Garland is a simple craft which I happily sat and sewed while I was watching my current guilty pleasure – Say Yes to the Dress! It doesn’t require any great skill with sewing – because I have none really, but it’s a lovely little garland which costs pennies to make and would brighten up any space!

make a Packing Peanut Flower Garland

You will need –
Packing peanuts – 5 or 6 per flower
Needle and thread
Buttons
A long piece of ribbon

Method –
Flatten your packing peanuts. I used a rolling pin but you can squash them flat with your hands if you want.

Take 5 or 6 flattened peanuts and arrange them in a flower shape. Using a needle and thread, sew them together in the centre of the flower. Once they’re secure, take your button and sew it on to the centre of the flower. Then place your flower where you want to sew it on the ribbon and stitch it in place through the button.

Crafts: How to make a Packing Peanut Flower Garland

Keep sewing flowers and adding them to the garland until you’re happy with how many flowers you’ve got. Tie a small loop at each end of your ribbon and hang up wherever you think best. It doesn’t matter where, as long as it’s dry!

I’m really quite pleased with my Packing Peanut Flower Garland. It’s so simple and costs very little to make, it’s the prefect frugal craft for those who hate waste!

If you enjoyed this, you might also like some of my other craft posts.

Crafts: How to make a Packing Peanut Flower Garland

Are you giving your kids a bright future?

When I got pregnant with the small boy, I naturally had hopes and dreams for a bright future for him. In the first instance I hoped for a healthy baby delivered safely, something which didn’t really go according to plan, but he did arrive and he was eventually pronounced healthy. The old cliche is correct, nothing ever really prepares you for bringing your own tiny human home. No amount of books, pre-natal classes or expert TV nannies can prepare you. You’re pretty much winging it.

When you are pregnant, people say things to you about sleepless nights and explosive nappies, and you just sort of nod. You nod like you know what it feels like to have broken sleep. Lack of sleep isn’t how you imagine it to be, having broken sleep, snatches of naps, dealing with constant demands from a tiny human who can’t communicate with you what they want or need night after night, it’s hell. No wonder it’s a form of torture. The SAS play recruits tapes of screaming babies whilst keeping them awake to see if they can break them. Ladies, we are tougher than the SAS. Sort of.

bright future

I remember sitting down with a good friend over a brew. Our two toddlers sat on the floor playing together. She turned to me and wondered if she was a good parent and I replied, “well we’ve not managed to accidentally kill them yet and they’re both clean, clothed and well fed”. I doubt anyone is the perfect parent, but all you can do is your best.

No one prepares you for lots of things, the amount of washing for a start. Previously my husband and I would do 2-3 loads of washing a week. When the small boy arrived that increased to at least one wash a day. I used to joke that he had more costume changes than Elton John, he still does come to think of it.

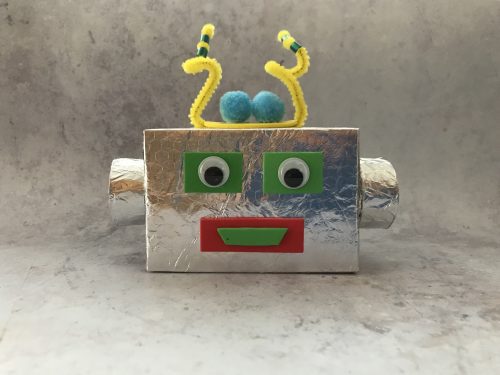
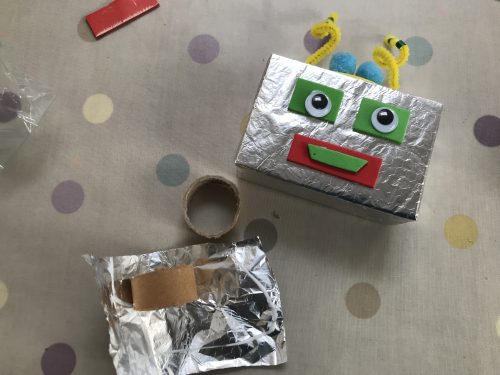
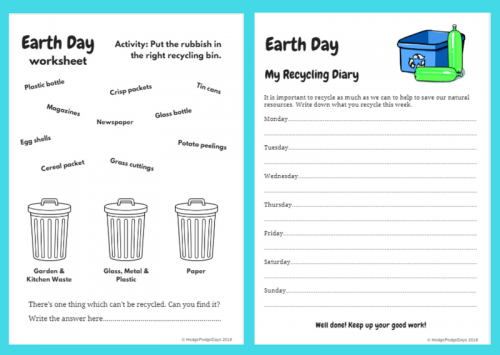
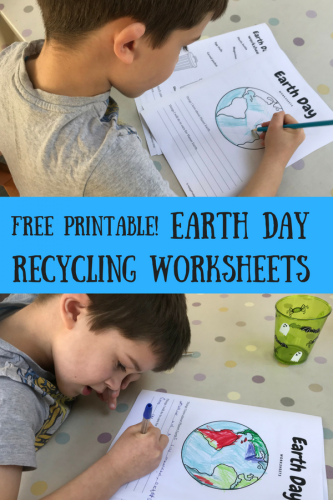
Having a child makes you worry for the future, but it also gives you someone who holds you in check. You may think you recycle as much as you can, then they learn about recycling at school and you find yourself being instructed by a five year old to scrape the labels off jam jars and recycle separately both the jar and the label. He’s a stickler for standards!

Being a parent influences most of your decision making, right from the day you pee on a stick and find that blue line. From where you holiday, what you eat, when you eat, how much you recycle, the cleaning products you use, what car you drive, where you live and who you are friends with. It’s all encompassing, and finding yourself going from strong independent career woman, to that lady with the screaming kids who always smells like baby wipes, can take some getting used to.

Everything I do as a parent, the choices I make and the things I buy are all small acts of love (stick with me on this). I buy him the pasta shapes he likes because he enjoys them and it’s good to see him clear his plate without complaint. We go on holiday to places near a good sandy beach, because nothing makes him happier than digging a big hole and filling it with water.

Everything we do, we do with him and his bright future at the forefront of our minds, not because he is a little prince and we pander to him, but because he is one third of our family unit and we’re busy helping to shape him into a useful and productive member of society.

I recycle with him, because he likes doing that with me, and doing that helps to create a better future for him. I wash his clothes in Persil because it makes his clothes smell nice and gets the grass, paint and pasta sauce stains out of his clothes. I wash at 30° because it saves energy for us, and I know that the little changes we make ourselves can make a difference.

bright future

I teach him to turn lights off when he leaves a room, to shut the door to stop the draught, to put a jumper on when he’s cold, to tidy up after himself, to turn the tap off when he brushes his teeth and to be kind to people, because kindness is everything.

Creating a bright future is about so many things; cementing good habits in childhood, learning that good manners cost nothing, understanding that small changes can make a big difference. It all adds up and hopefully, hopefully, my small boy will grow up to be kind, considerate, loving, funny, wise and capable.

bright future

This post is an entry for BritMums #brightFuture Challenge, sponsored by Unilever.

Christmas Crafts: Make Your Own Snow Globes

As a child I collected snow globes and I was fascinated by them, shaking them and watching the snow or glitter fall. I’ve always fancied making my own. I’ve seen a million craft tutorials online about how to make your own snow globes, so I thought I’d give it a go. It was remarkably simple.

I’m keen to reuse and recycle our household waste as much as we can. For years all our jam jars have been washed out and used for a range of other uses, such as, storage jars, re-filling with homemade jams, chutneys and pickles and for various crafts. This time I put one of my empty jars to a more creative use. I made my own festive snow globe.

To make your own snow globes you will need…

1 clean jar with a metal lid
1 figure which will fit in the jar
Glitter
A few drops of glycerine
Superglue
Water

snow globes

To make your snow globe…

Using the superglue carefully glue the figurine to the inside of the lid (make sure the lid is clean and dry), leave this for several hours, or overnight if you can. Once it’s stuck firmly to the lid you can continue making your snow globe.

snow globes

Tip around half a teaspoon of glitter into your empty jar, top the jar up with water and add half a teaspoon of glycerine. The glycerine helps the “snow” fall more slowly in the globe.

Once you’re happy and the jar is as full as it can be, dot superglue around the inside rim of the lid and screw it on the jar tightly. Leave it to dry properly for a few hours and then shake it up and enjoy your snow globe.

snow globes

It really is that easy, it looks really effective too. I suspect that this is a festive craft we’ll be doing again and again.