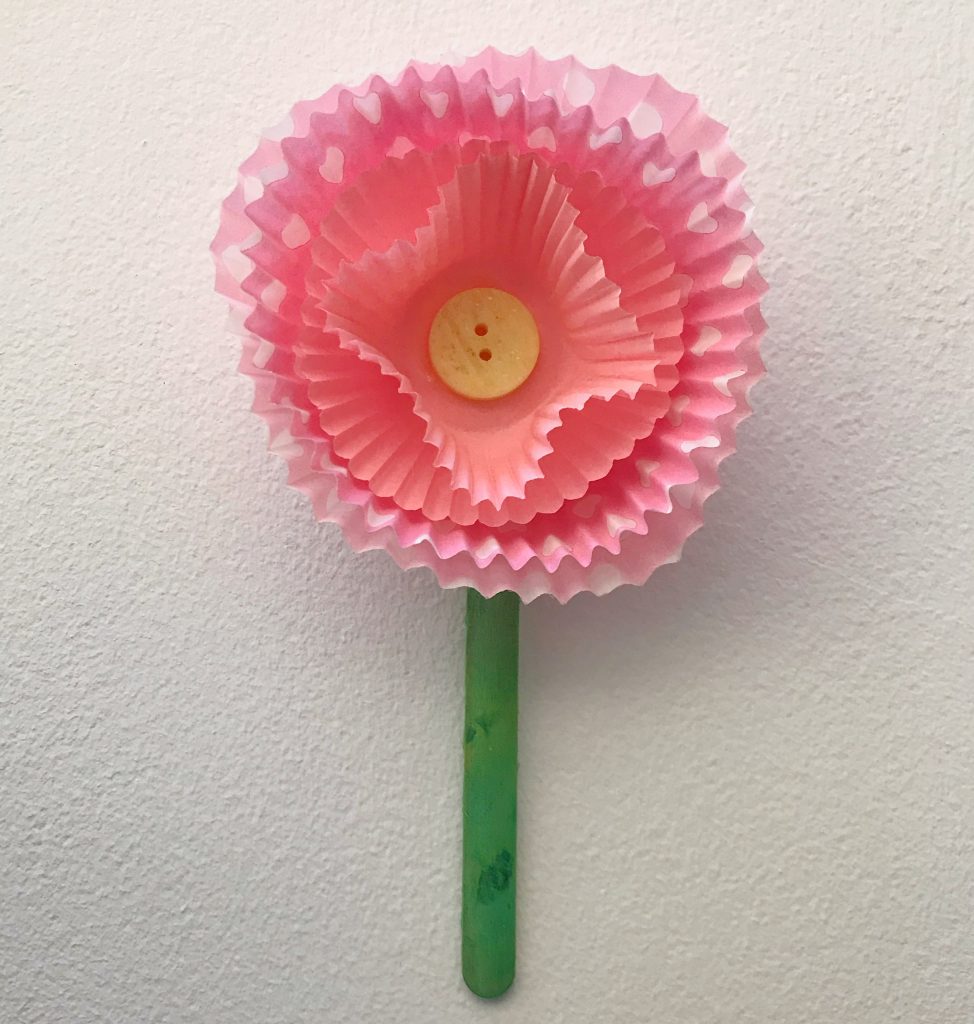
Cupcake cases have so many more uses other than for being used to bake delicious cakes. I use them a lot in crafts, the delicate paper cases make excellent petals for flowers. Whilst I loved the pretty little daffodil flowers I made a few months back, I thought it was about time to make a summery change to the paper flowers in my kitchen. I made these pretty cupcake case flowers and they’re so pretty in a little vase, they’re really made my day.
I spotted some colourful mini muffin cases when I was shopping in Booths a while ago. They’re just the thing to make these pretty flowers with. I also used some regular sized cupcake cases and together they made a many petaled wonder.
How to make Simple Cupcake Case Flowers
You will need:
Two regular sized cupcake cases
Two coloured mini muffin cases
A button
Green lolly sticks or straws
Bostik Fine & Wide Glu Pen
Sellotape

How to make your cupcake case flowers:
Take your two regular sized cupcake cases and turn one inside out. Put a dab of glue on the white side of one of the cases and press the white sides together, leaving the patterned or coloured sides on the outside. Leave that to one side to dry, you might want to weight them down with something so they stay pressed together while the glue sets.
Meanwhile take the smaller cupcake cases and do the same to them. Turn one of them inside out and glue them together. Put a dab of glue on the inside of the small case and glue your button, you could also use a little pom-pom or another embellishment of your choice.
Using more of the glue, glue the large and the small cases together and leave the whole thing to set for an hour or so. I pressed mine down using my little button tub.

Once the whole thing is dry, take some sellotape and stick the lolly stick or straw to the back of the flower. Carefully tease the cupcake cases into a pleasing petal shape. I shaped the innermost case to make it look pretty. What do you think?
It’s as simple as that. They look great, we’ve made a few and put them in a little vase in my kitchen. They’re a cheery summery flower that is so simple and fun to make too.
If you enjoyed this craft, you might also like –
- How to make a cheery Daffodil flower
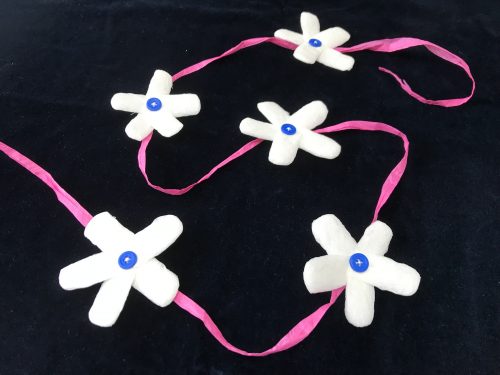
- How to make a Packing Peanut Flower Garland
- How to make your own Kusudama Origami Flowers
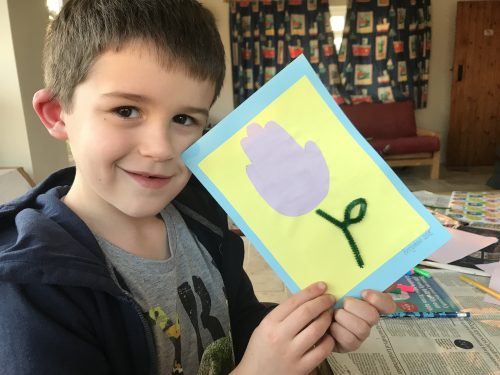
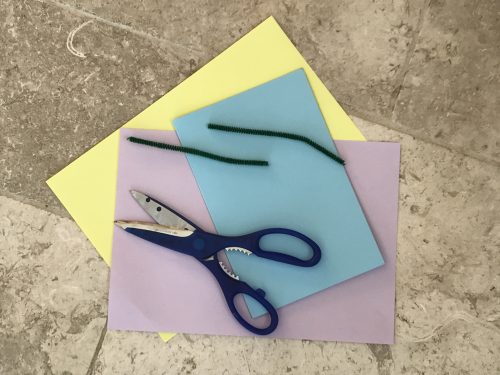
- How to make Tulip Handprint Cards