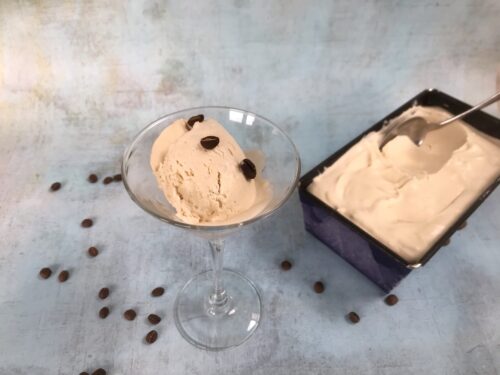
I am really into making my own ice cream at the moment. It’s such a simple thing to do, but it’s so rich and delicious, my whole family can’t get enough of it. Recently I made an Irish coffee flavoured ice cream, which was amazing. But this week, with a punnet of fresh raspberries calling me from the fridge, I decided to whip up a batch of no churn raspberry ripple ice cream.
The recipe is a really simple one and takes very little time to throw together. It’s great to get the kids involved with too, my son really loves whipping the cream for me.

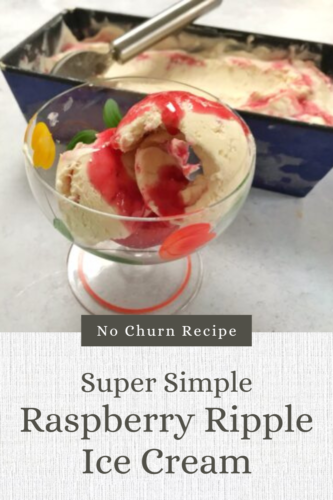
No Churn Raspberry Ripple Ice Cream
Ingredients:
500ml double cream
1 tin of sweetened condensed milk
1 teaspoon of vanilla extract
150g fresh raspberries
100g icing sugar, sifted
How to make raspberry ripple ice cream:
Before you start making the ice cream, make your raspberry ripple. Pop your fresh raspberries in a microwavable dish and cook for around 90 seconds, or until they’ve collapsed and are soft and pulpy. Push the raspberries through a sieve, so you’re removing the raspberry seeds. Pour the raspberry juice into your sifted icing sugar and mix well. Leave them to cool fully. You can speed this up by popping it in the fridge for a little while.
To make the ice cream, whip the cream in a bowl until it forms stiff peaks, this will take a few minutes with an electric whisk, if you’re doing it by hand, it might take a little while. Once you have achieved stiff peaks, gently fold in the condensed milk and vanilla extract until it is well combined. Whip the mixture for 30 seconds to make sure it’s mixed properly.
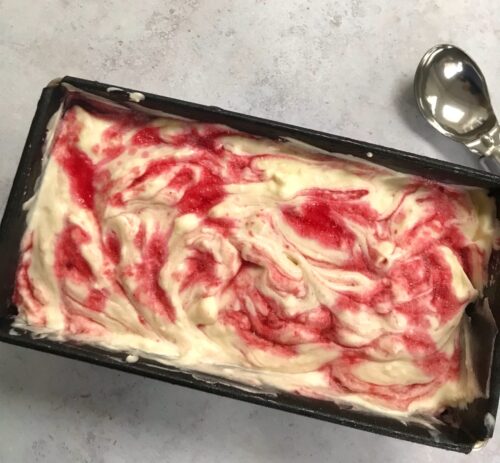
Pour about half the ice cream into a loaf tin, then spoon over around half of the cooled raspberry puree and swirl through with a skewer or a knife. Top with the rest of the ice cream mixture and repeat the swirling process with the rest of the raspberry puree. If you like, drizzle a little more of the raspberry puree artistically over the top. Pop it in the freezer for 6 hours, or overnight if you can.

To serve, remove it from the freezer about ten minutes before you want to serve it. It should scoop pretty well once it’s been at room temperature for a short while. If you’ve got any raspberry puree left over, that’s great drizzled over the top too!
This raspberry ripple ice cream is so lovely. It’s a real blast from the past from my childhood and an ice cream which I know I’ll be making again and again!