It’s the week before Christmas and I’ve got a million things to do. One of them is to plan some things for me and the boy to do on Friday. We have a whole day to ourselves before the madness begins, and he’s already requested crafts and baking. Those I can do. I’ve been wanting to try to make some paper baubles for a few weeks, I finally had the chance this morning.
These paper baubles are so simple to do, but they look pretty smart and I’m sure they cutting and sticking will appeal to my son. Paper bauble making will definitely be on our agenda for Friday.

How to make Pretty Paper Baubles
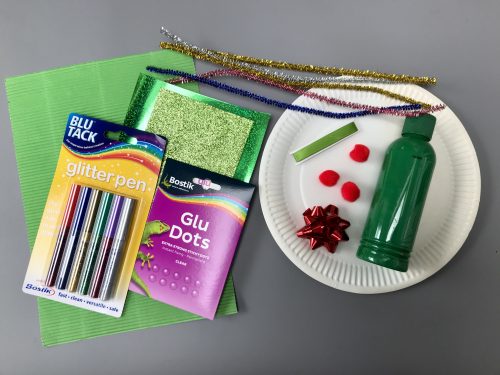
You will need:
Coloured or patterned paper
A glass
A pencil
Scissors
A glue stick
A length of ribbon
How to make Pretty Paper Baubles:
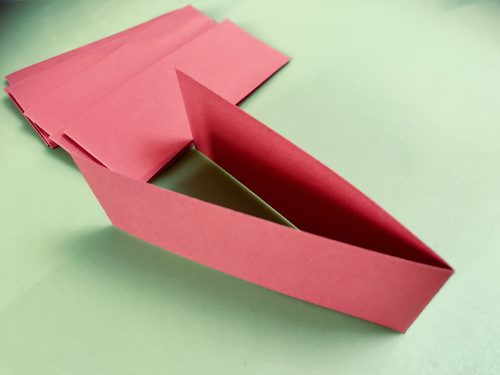
You’ll need coloured paper, I used plain red paper and a patterned red paper which I thought would work well together. On your coloured paper, draw around the rim of the glass to make a circle. You’ll need at least 8 circles to make your bauble.
Cut your circles out and fold them in half. If you’re using patterned paper, the pattern needs to be in the inside of the fold.

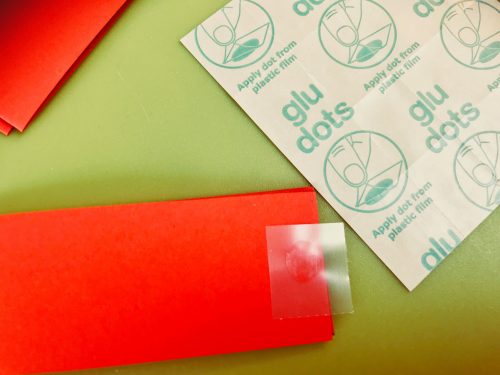
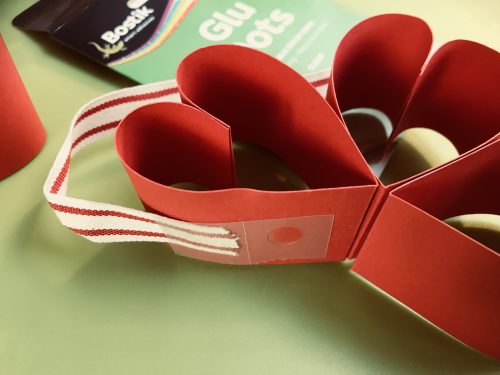
Using the glue stick, glue the folded halves together; if you’re using plain and patterned paper, alternate them. Make sure your circles are well stuck together, you might want to press them under a heavy book for half an hour to make sure they’re firmly glued together. I found it best to make two halves of the bauble before putting the ribbon on.
To fix the ribbon in place, give the inside half of one side of your bauble a really good rub with the glue stick. Lay your ribbon in place and having given the other half of the bauble a good rub with the glue stick, press the two sides together. Your bauble is complete and ready for hanging up on the tree.
It’s as simple as that!
If you enjoyed this, you might also like to try –
- Five Natural Christmas Decorations
- Button Christmas Decorations
- Paper Plate Holly Wreath
- Glitter Tape Baubles
- Make your own snow globes
- Simple Hand Print Christmas Wreath